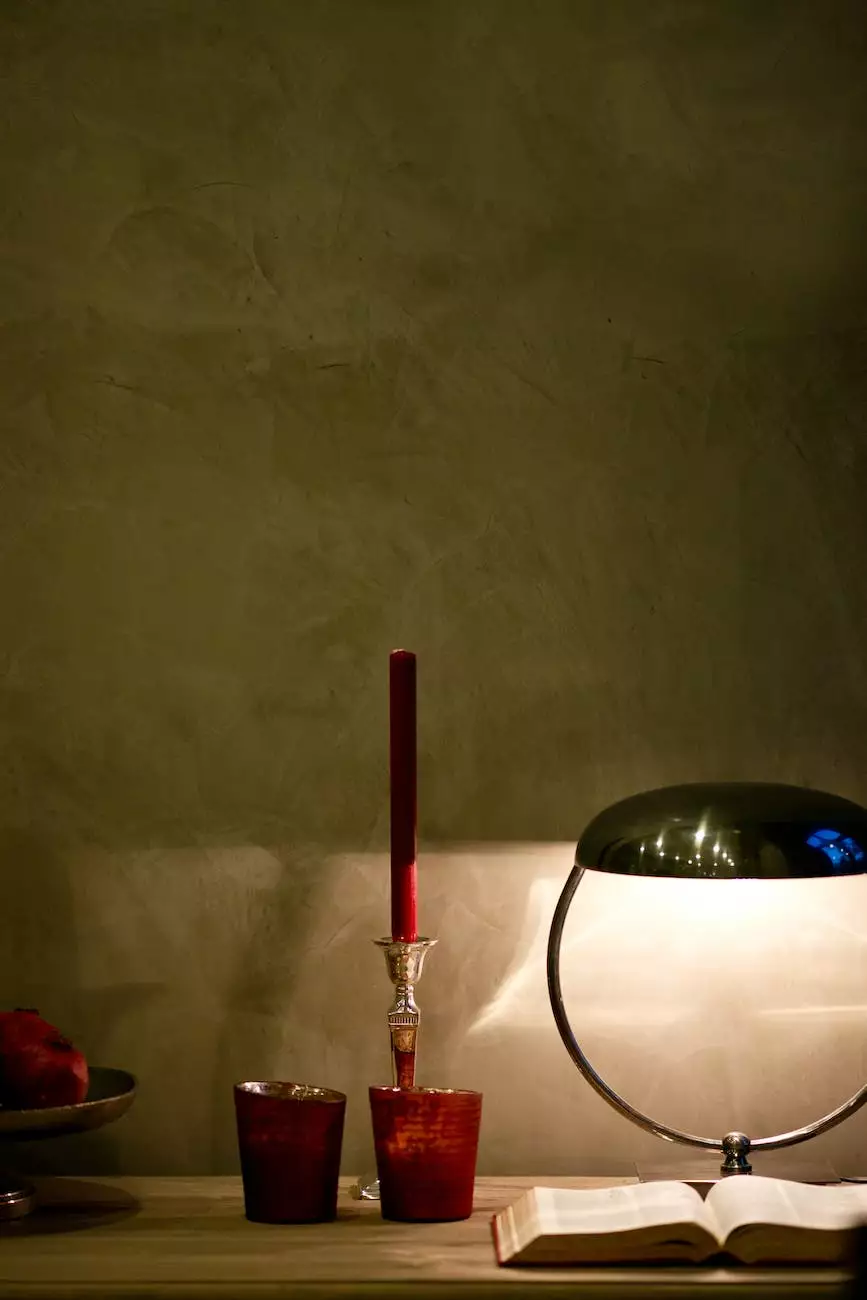
Assembly Instructions - Mica 3LT Arc Floor Lamp

Welcome to the assembly instructions for the Mica 3LT Arc Floor Lamp by Intent! We understand the importance of having detailed instructions to guide you through the assembly process and ensure that you can enjoy your new floor lamp as soon as possible.
Unboxing and Preparation
Before you begin assembling your Mica 3LT Arc Floor Lamp, make sure you have all the necessary components and tools ready. The lamp package should include the following:
- Base Stand
- Support Rods
- Lamp Shades (x3)
- Bulb Holders (x3)
- Power Cord
- Screws and Fasteners
- Instruction Manual
Once you have all the components, find a clean and spacious area to work on the assembly. Make sure you have enough room to lay out the parts and easily access them during the process.
Step-by-Step Assembly Guide
Step 1: Base Stand Assembly
Start by assembling the base stand of the Mica 3LT Arc Floor Lamp. Take the base stand and align the pre-drilled holes on the top with the holes on the bottom of the support rods. Insert the provided screws into the holes and use a screwdriver to secure them tightly. Ensure that the base stand is stable and securely attached to the support rods.
Step 2: Attaching Lamp Shades
Next, it's time to attach the lamp shades to the lamp holders. Carefully position each lamp shade over the corresponding bulb holder and align the holes on the shade with the holes on the holder. Insert the screws into the holes and fasten them with a screwdriver. Repeat this process for all three lamp shades.
Step 3: Connecting the Lamp Holders
After securing the lamp shades, connect the lamp holders to the support rods. Each support rod should have a designated slot for the lamp holder. Insert the lamp holder into its designated slot and twist it clockwise or as instructed by the manual to secure it firmly in place.
Step 4: Electrical Connections
Now it's time to connect the electrical components of the Mica 3LT Arc Floor Lamp. Take the power cord and gently thread it through the hollow support rods, ensuring it doesn't tangle or get twisted. Once the power cord is threaded through, locate the bulb holders and connect the corresponding wires from the power cord. Refer to the instruction manual for detailed wiring instructions and safety precautions.
Step 5: Final Adjustments
With all the main components assembled and connected, it's time for some final adjustments. Make sure all the parts are securely fastened and tightened. Adjust the lamp shades to your desired angle and position, ensuring they are evenly spaced and balanced. Take a step back and admire your newly assembled Mica 3LT Arc Floor Lamp!
Enjoy Your Mica 3LT Arc Floor Lamp
Congratulations on successfully assembling your Mica 3LT Arc Floor Lamp from Intent! Now that you have your stunning floor lamp ready, it's time to find the perfect spot in your home to showcase its elegance and functionality. Whether you're looking to create a cozy reading nook or add a touch of sophistication to your living room, the Mica 3LT Arc Floor Lamp will undoubtedly elevate your space.
Remember to consult the instruction manual and safety guidelines provided by Intent for any further information or troubleshooting. Enjoy the warm and inviting glow of your Mica 3LT Arc Floor Lamp and bask in the ambiance it brings to your living space.


